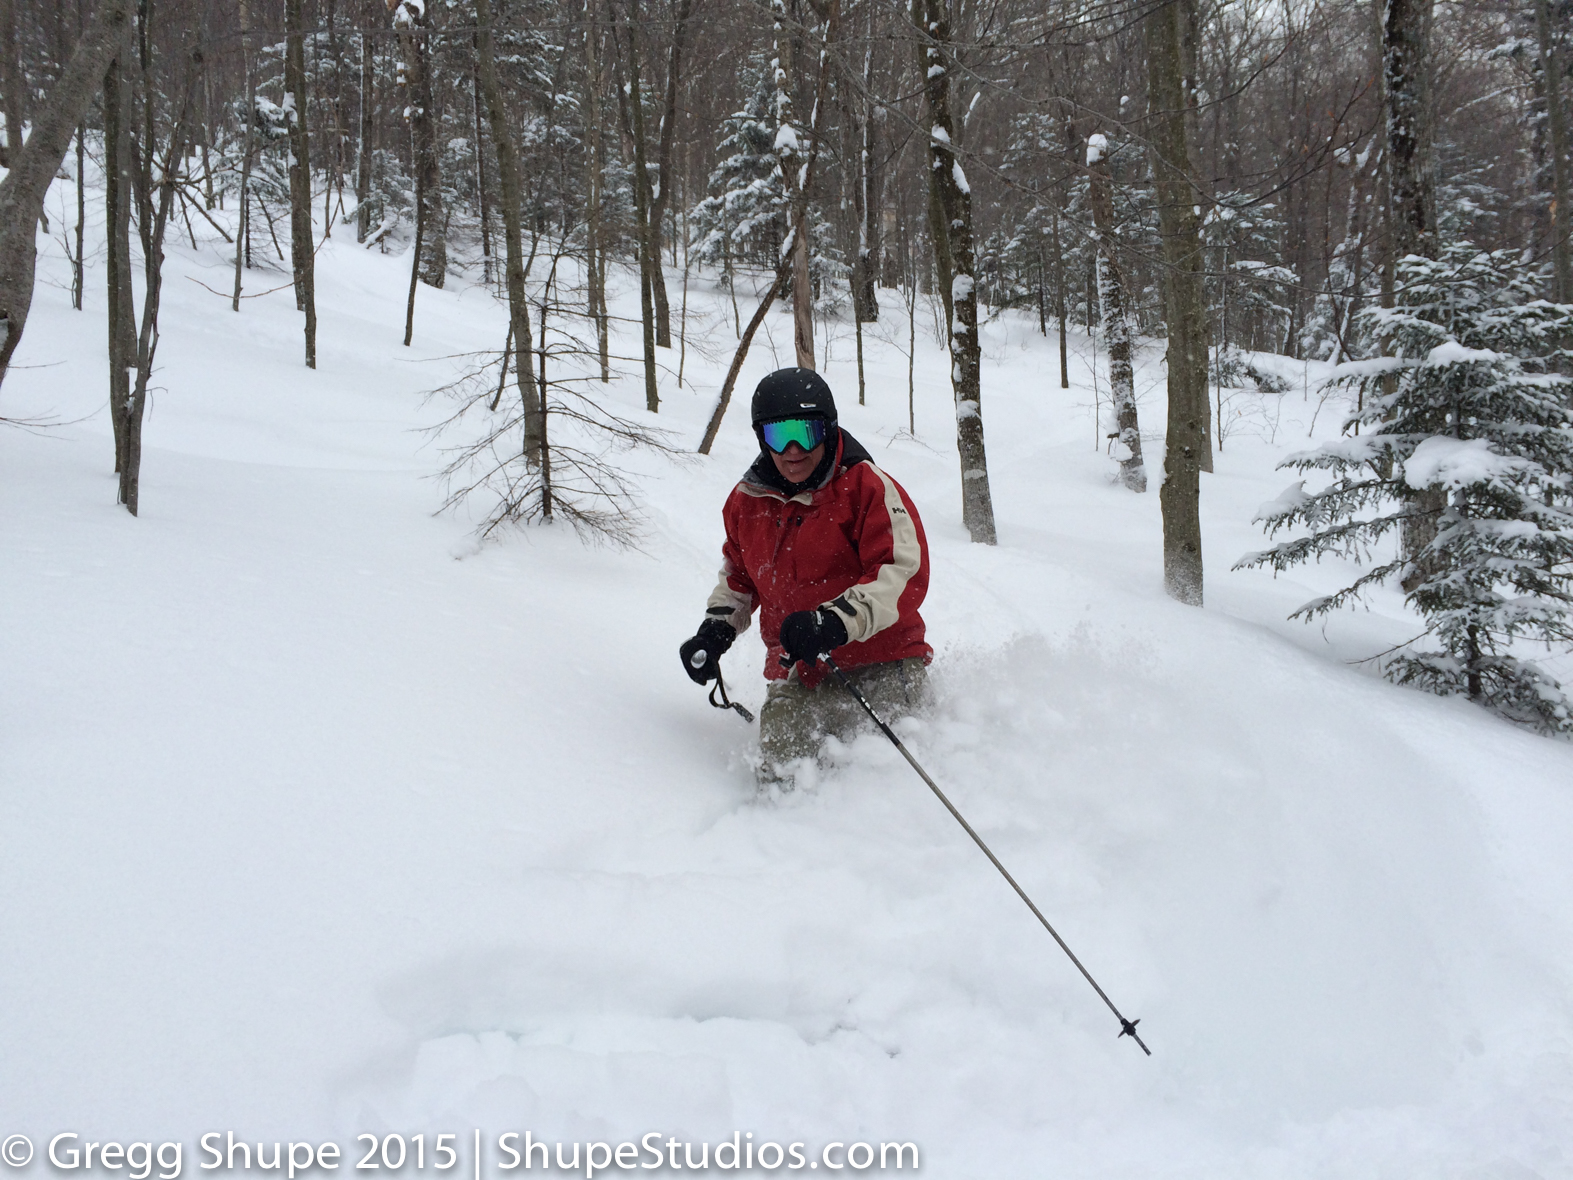
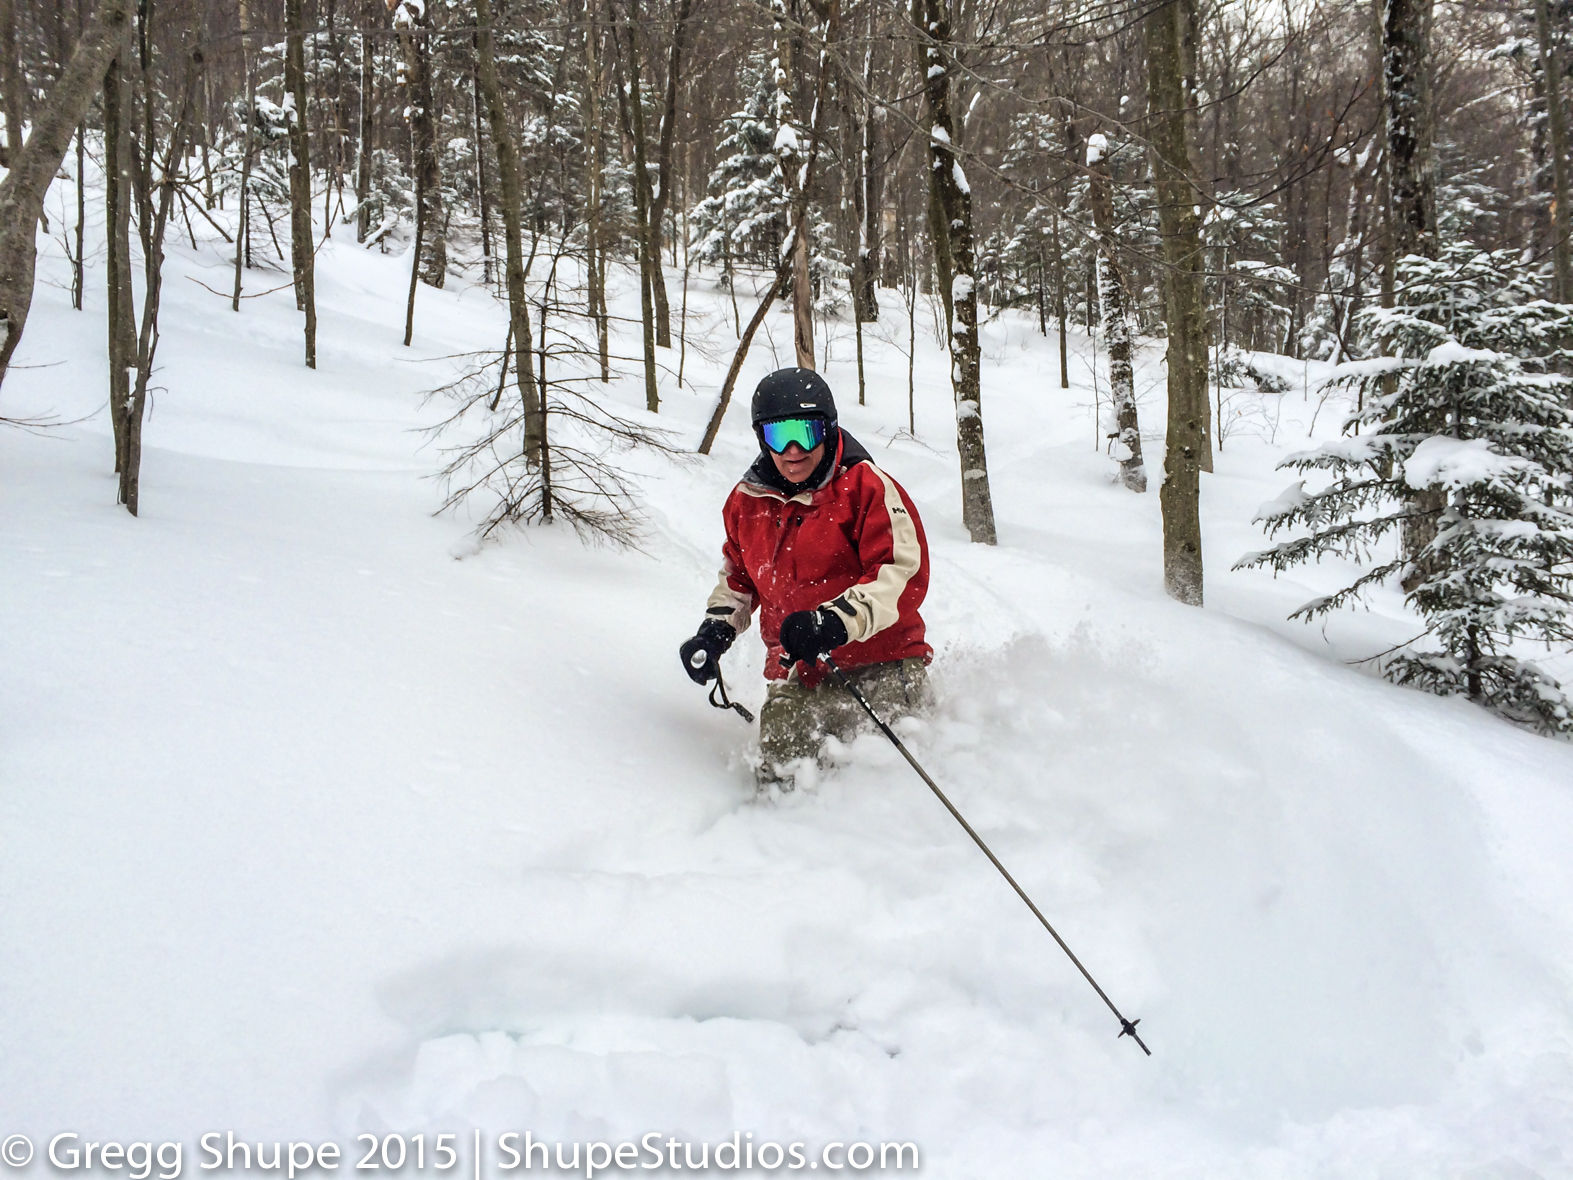
We are in the middle of a record snow fall which we may not see again in many years. Last time I remember depths like this in MA was as kid in Topsfield MA. That year our road was finally plowed out by a large bucket loader with a eight foot tall snow blower attachment like you see at Snowbird UT. We had 10 days of school in the month of February. With Blizzard Juno 2015 and all the snow since, lots pictures are being taken. Half of getting a great picture is to take it with whatever camera you have at that moment. Most have at least a smart phone with a camera. I have an Iphone 5. I wanted to show you how you can make these picture sing using Adobe Lightroom! Here is a before and after:
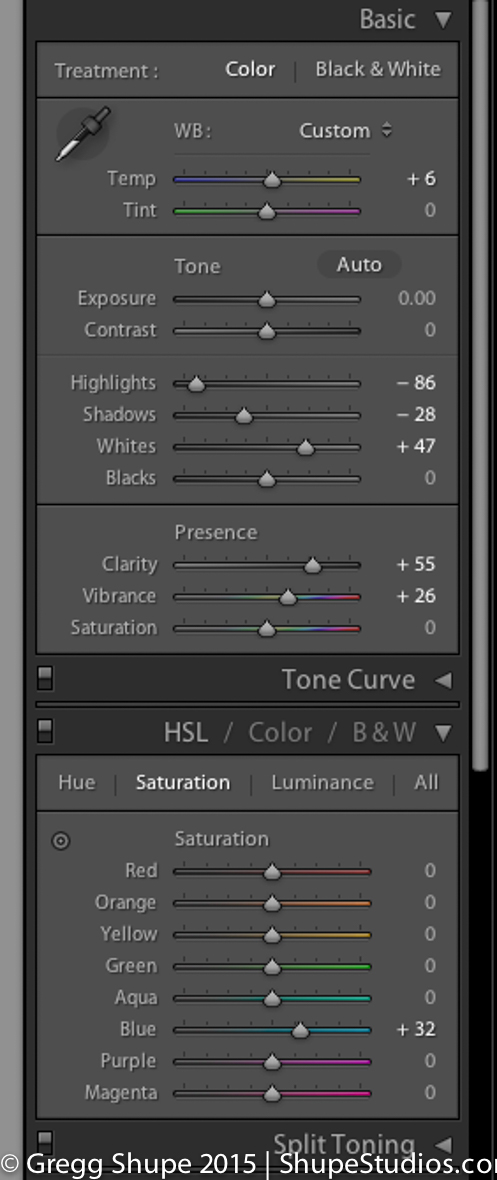
The Adobe Lightroom Settings to Use
In Adobe Lightroom I used these settings on the picture above: Increased highlights to gain detail, increased shadows to see into them, added a little warmth(yellow), added a bit of whites to make them sparkle, a little clarity to make the edges snap and then added a little noise reduction to make up for the noise produced in deep shadows by a basic camera/phone sensor. Below is a screen shot of the Lightroom dash board. The first one was used for the ski pictures. The second one has less shadow increase added and was used on the Gloucester-scapes that follow.

In this before and afters, see how you the detail in the snow pops.
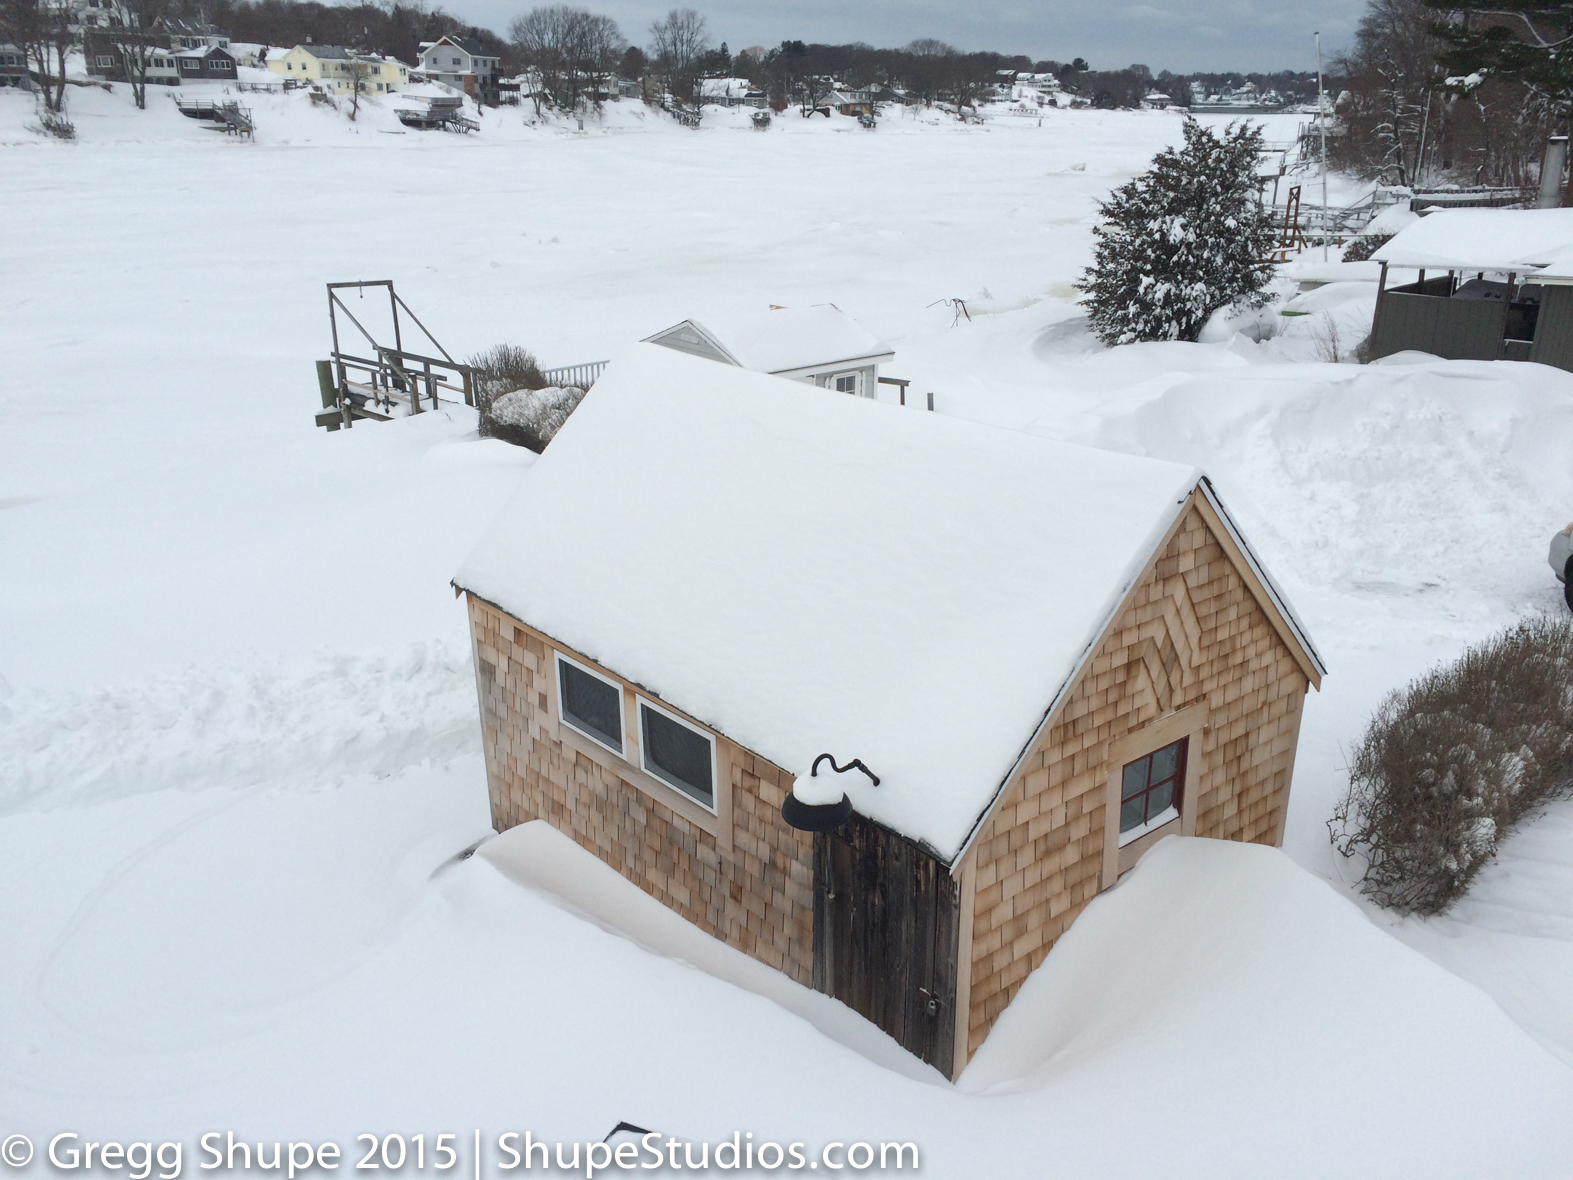

I also look for ways to tell the story. In this picture I used the snow drifts as in leading lines and the house to give scale.

Gloucester house in drift.
Enjoy and take your own with whatever camera you have.